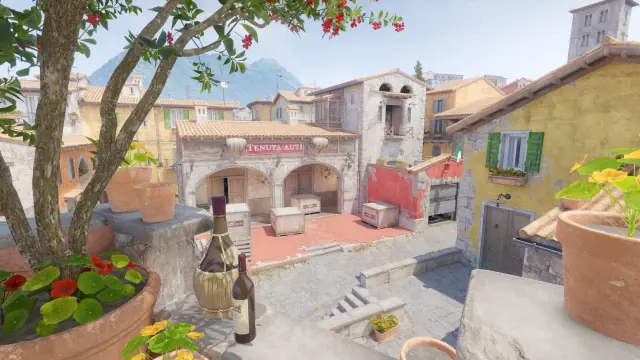
Tie
15:15
MR12
EU North
Team A Tie | Trade Kill Opportunities | Trade Kill Attempts | Trade Kill Success | Traded Death Opportunities | Traded Death Attempts | Traded Deaths Success |
|---|---|---|---|---|---|---|
  AnGeL | 6 | 5 (83%) | 0 (0%) | 2 | 2 (100%) | 0 (0%) |
 Captain Crackhead | 6 | 5 (83%) | 0 (0%) | 7 | 7 (100%) | 5 (71%) |
 MIBOMBA | 5 | 4 (80%) | 3 (75%) | 4 | 4 (100%) | 2 (50%) |
 The Johnstar | 4 | 4 (100%) | 2 (50%) | 4 | 4 (100%) | 1 (25%) |
 ★ dazzzee | 5 | 5 (100%) | 4 (80%) | 3 | 3 (100%) | 1 (33%) |
Team B Tie | Trade Kill Opportunities | Trade Kill Attempts | Trade Kill Success | Traded Death Opportunities | Traded Death Attempts | Traded Deaths Success |
 Ben Dover | 9 | 7 (78%) | 4 (57%) | 8 | 7 (88%) | 4 (57%) |
 Kåre Kruttlapp | 7 | 7 (100%) | 3 (43%) | 9 | 7 (78%) | 6 (86%) |
 Orphee | 14 | 9 (64%) | 6 (67%) | 6 | 4 (67%) | 1 (25%) |
 Richard Batsbak | 6 | 5 (83%) | 2 (40%) | 9 | 8 (89%) | 4 (50%) |
 sLoMyyy | 8 | 6 (75%) | 3 (50%) | 7 | 5 (71%) | 3 (60%) |